This Spring, artist Pan Yang was kind enough to show how he builds an Yixing tea pot body, completely by hand. Watch as he turns a brick of clay into a beautifully formed pot at his small studio over about 20 minutes, using only simple tools and his own years of experience. In the backgroung, a Kung Fu action movie plays while he works.
This is only the one step in a longer multi-day process – creating and finishing the lid, sculpting and joining the handle and spout, and generally perfecting every aspect of the pot, inside and out. Once everything is complete, the Pan Yang will fire the pot in his carefully controlled electric kiln.
Potters spend years learning and mastering traditional tea pot forms, first as students and then as young artists in their own right. Only after years of experience will an artist create their own unique designs and shapes, and eventually share these with students of their own.

 Click
to watch
From start to finish, it took about a half an hour for Pan Yang to hand form the body of this Yixing clay tea pot.
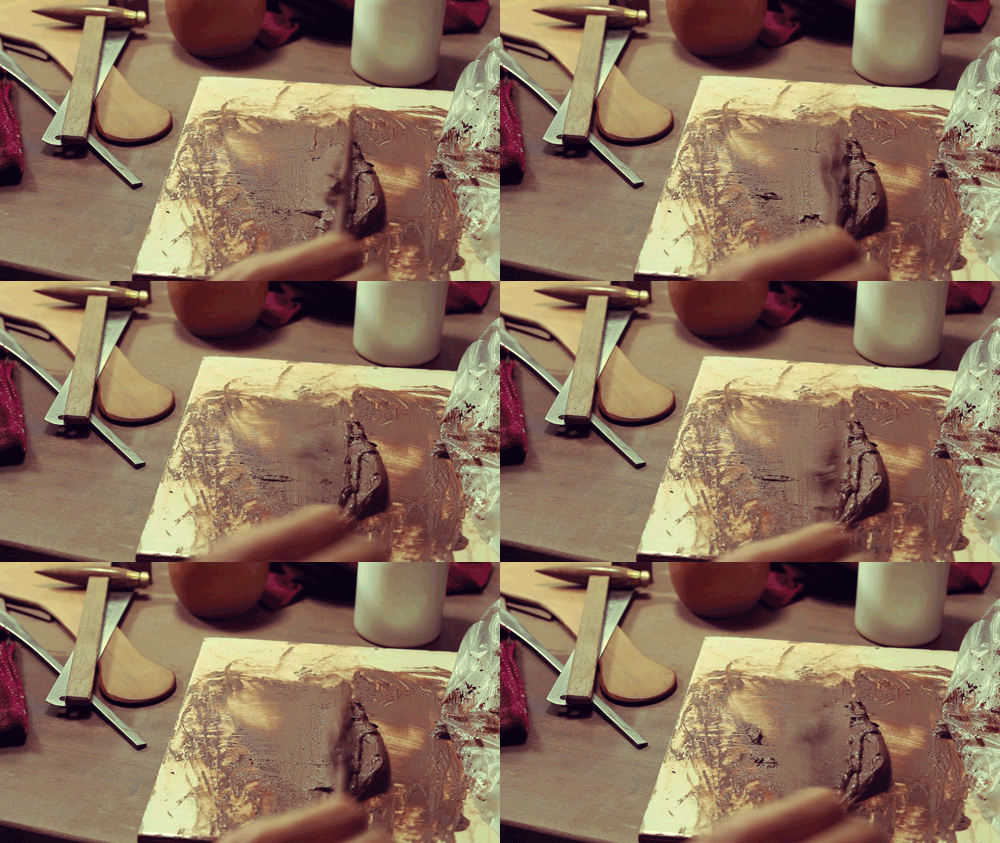
He begins with a section of unformed clay, carefully shaping and flattening into the correct size and thickness. He smooths the clay before measuring and trimming.
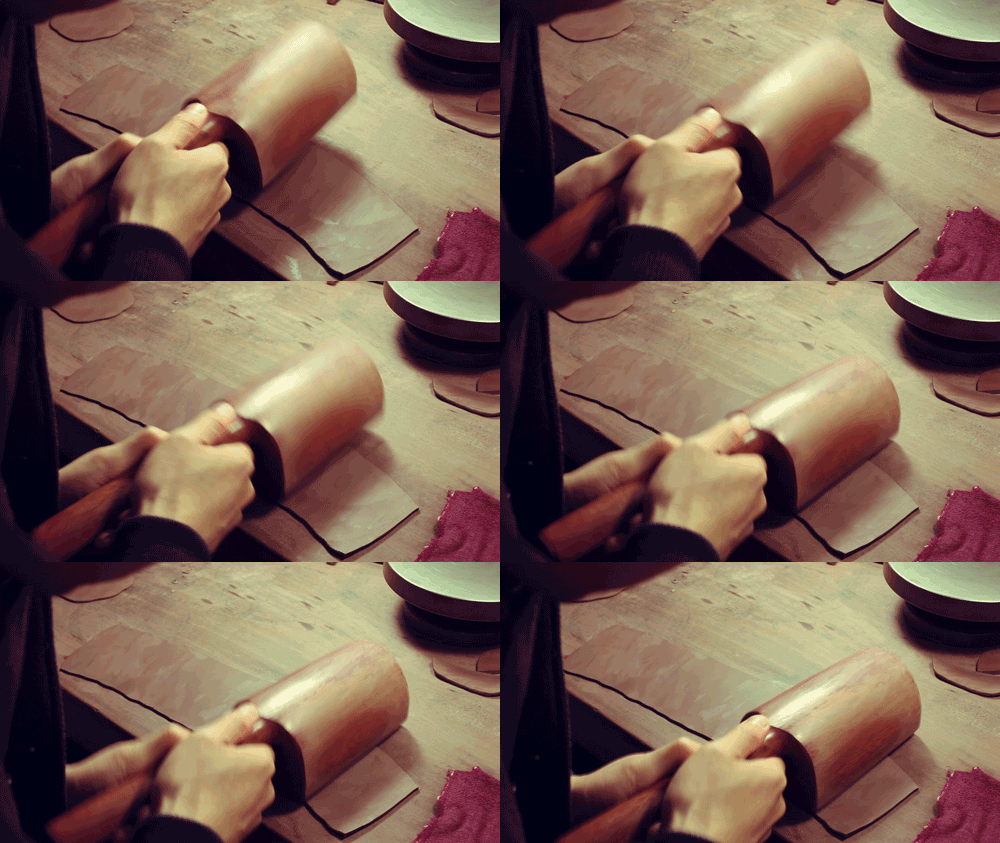
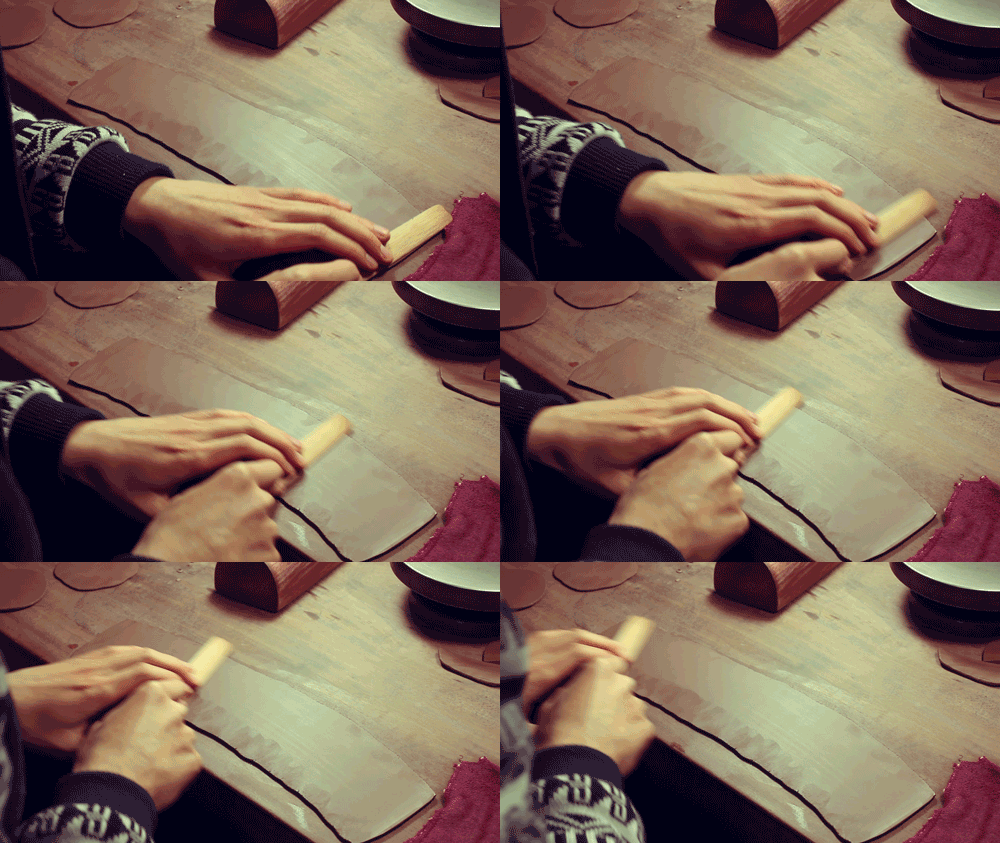
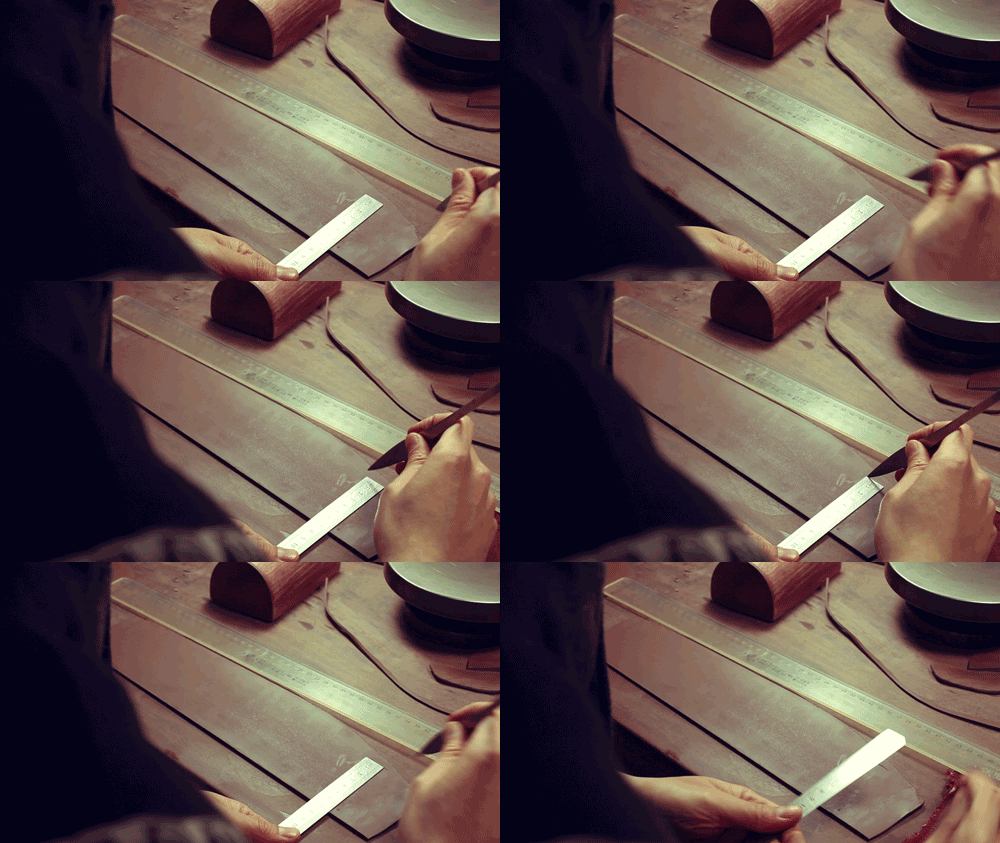
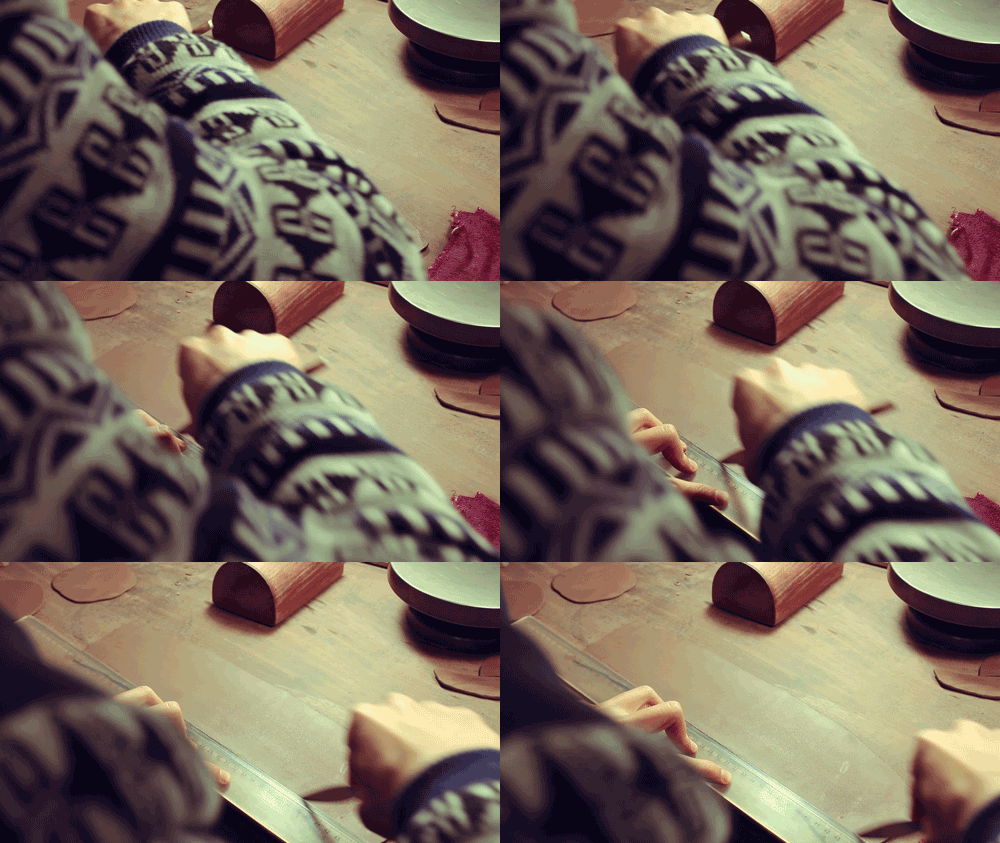
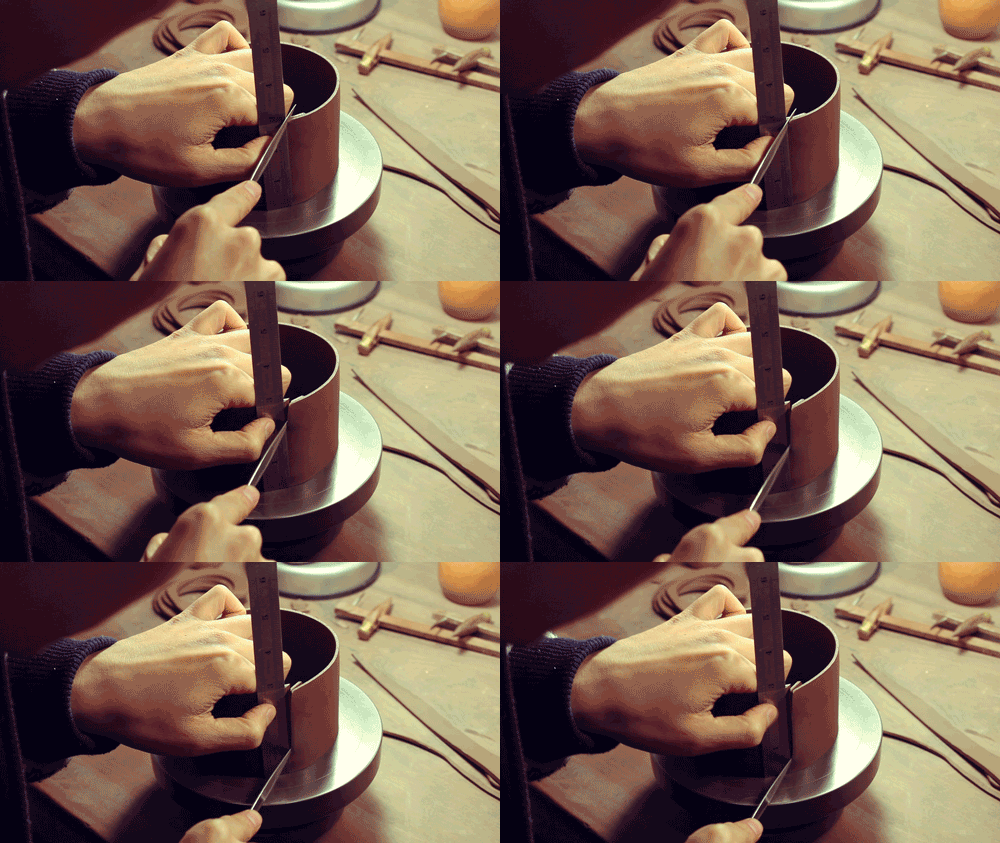
Pan Yang uses a simple clay form to temporarily hold the clay at the correct diameter, then uses a straight edge and a blade to cut the clay at an angle where the two edges overlap. He trims and preps the edges to ensure a good fit.
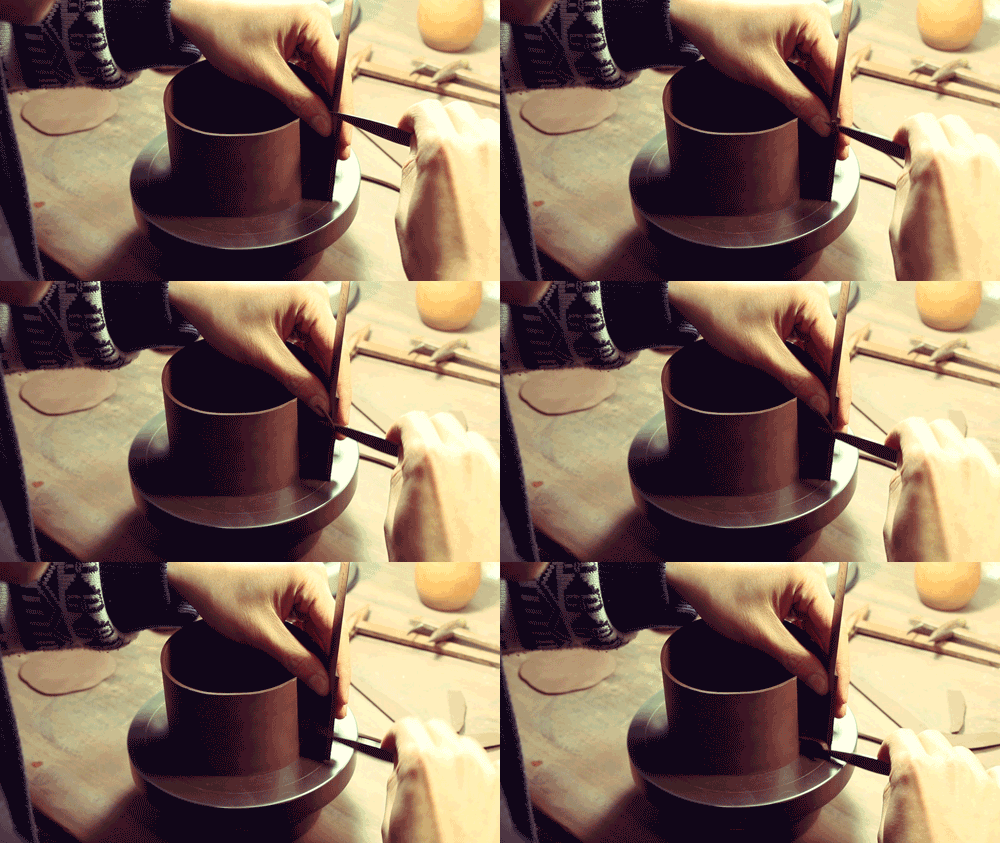
Pan Yang uses his artist chops to stamp one side of the clay. Once finished, this seal will remain on the interior wall of the tea pot. He places his seal here to emphasize the fact that his pot is built completely by hand, without the assistance of molds, presses, or machines.
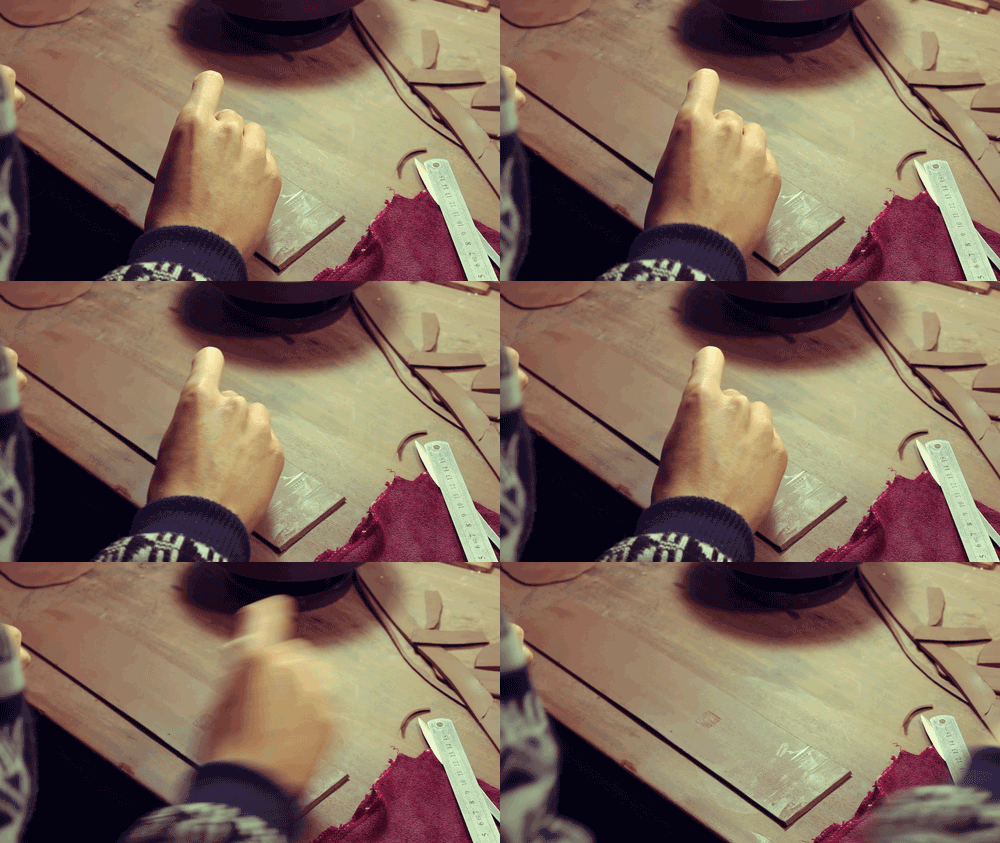
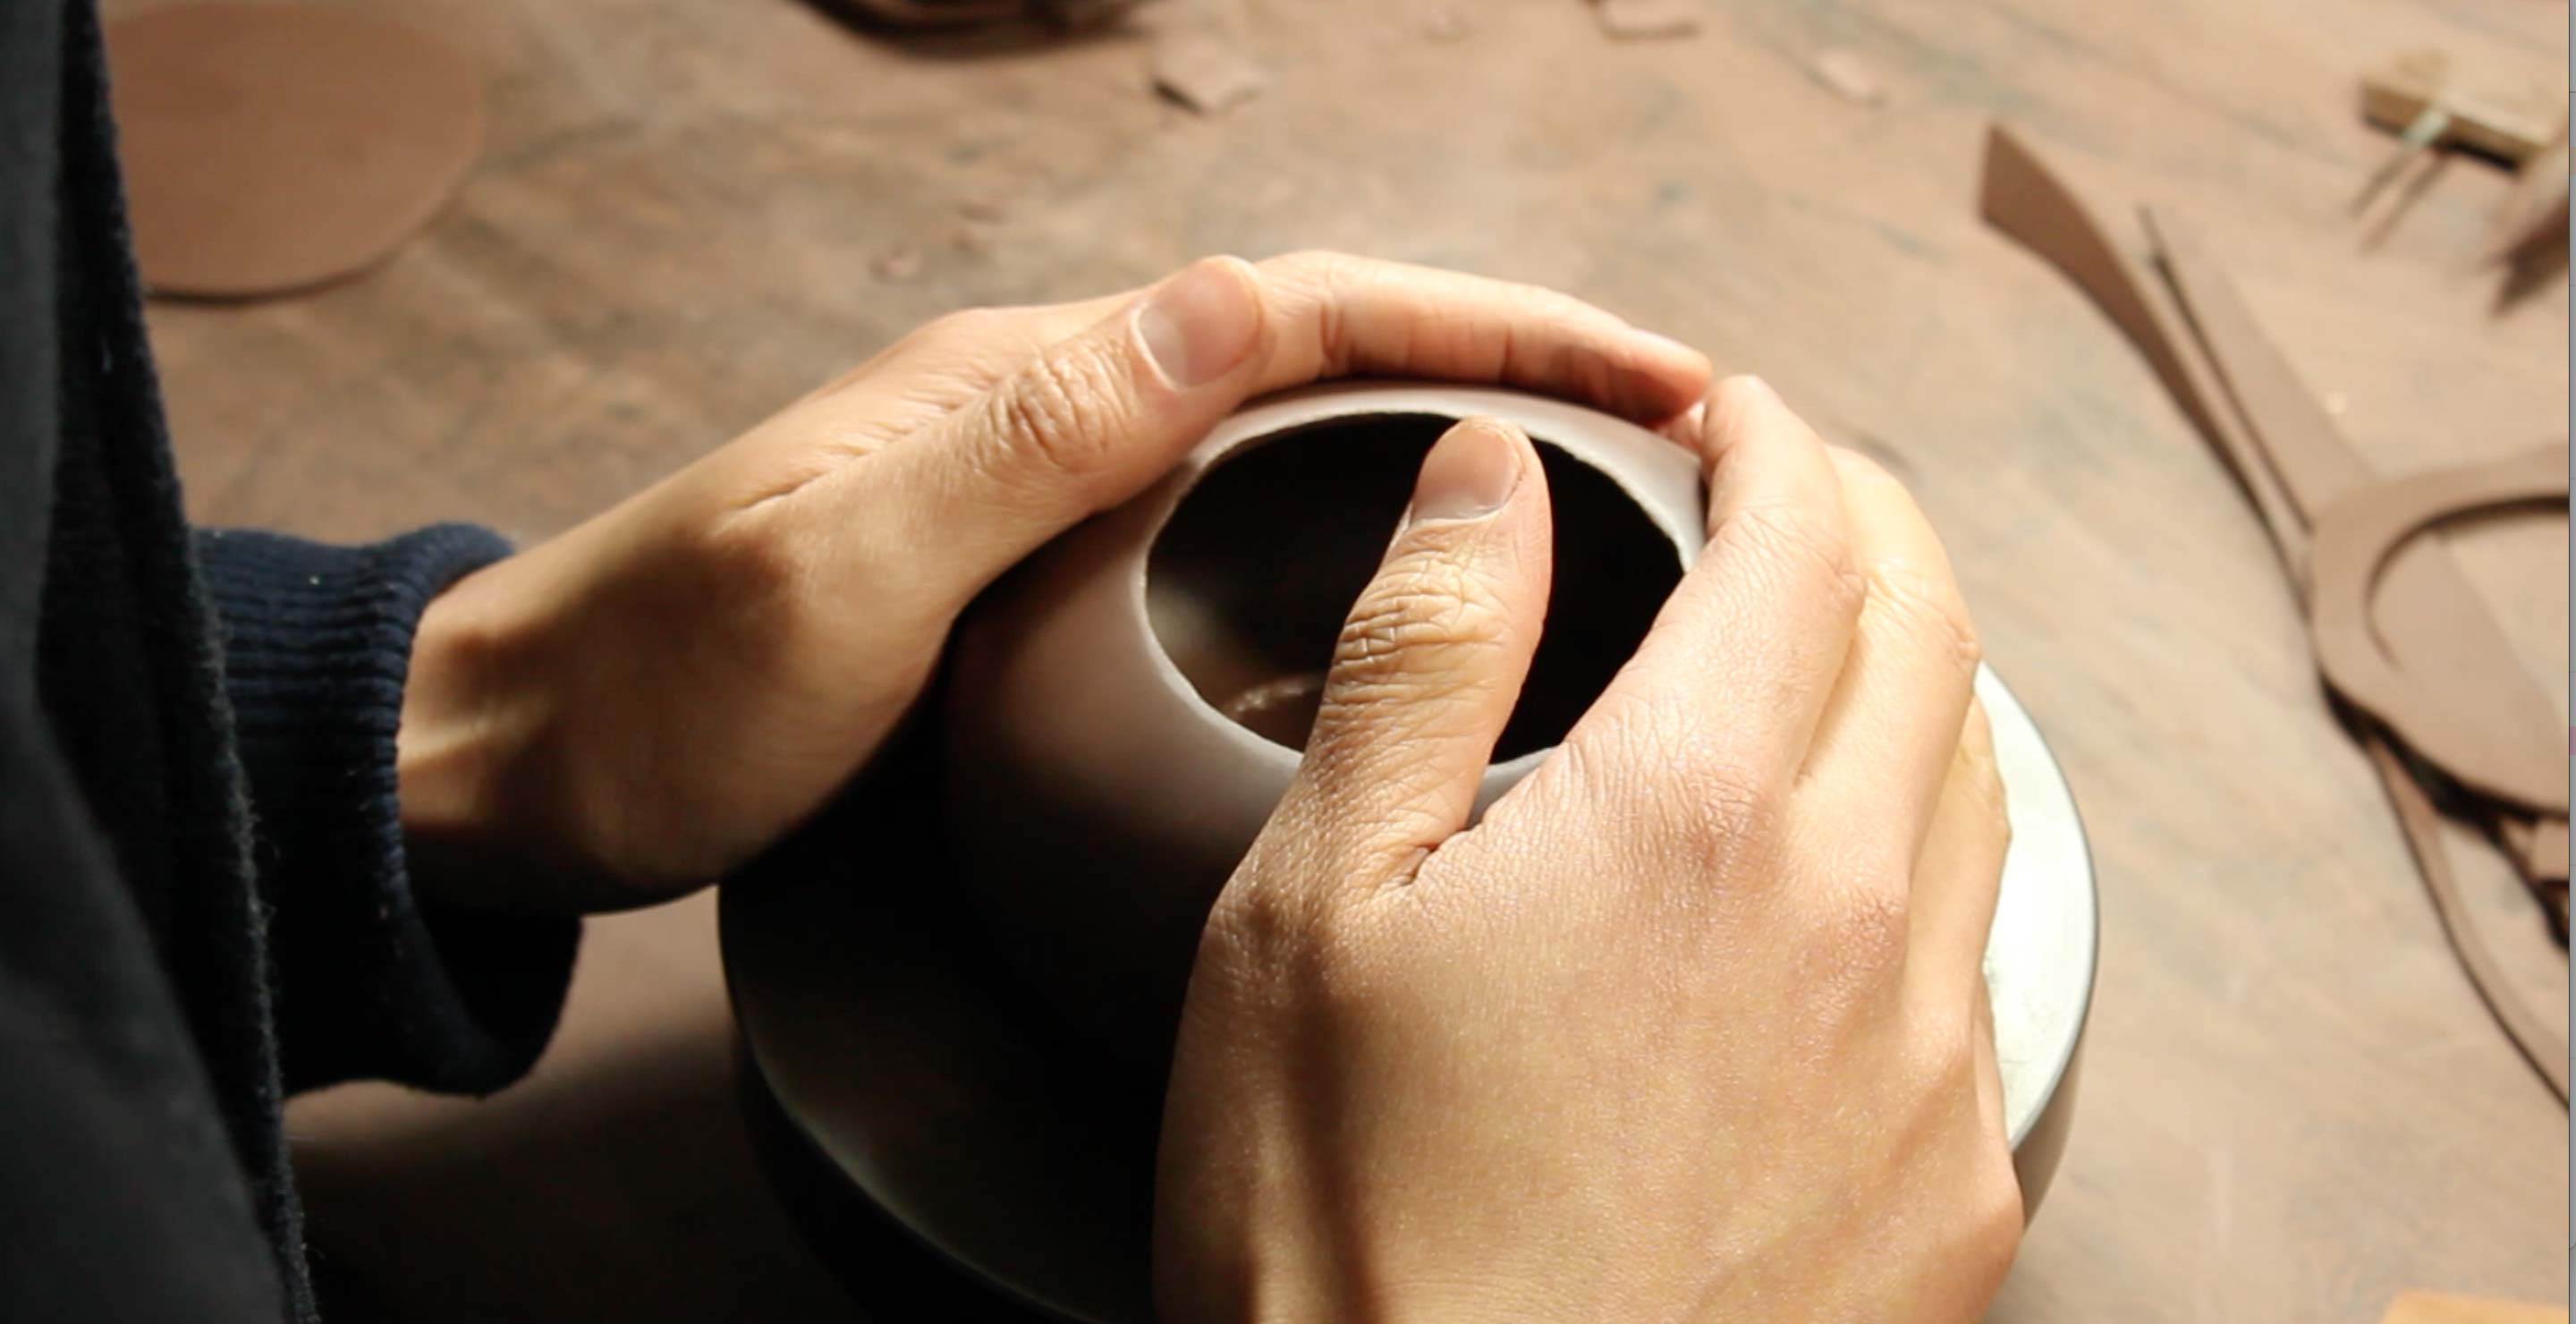
Using his fingers, Pan Yang joins the edges of the clay together, then carefully smooths the joining. He creates a small indentation in the clay, marking the point where he will later attach the handle.
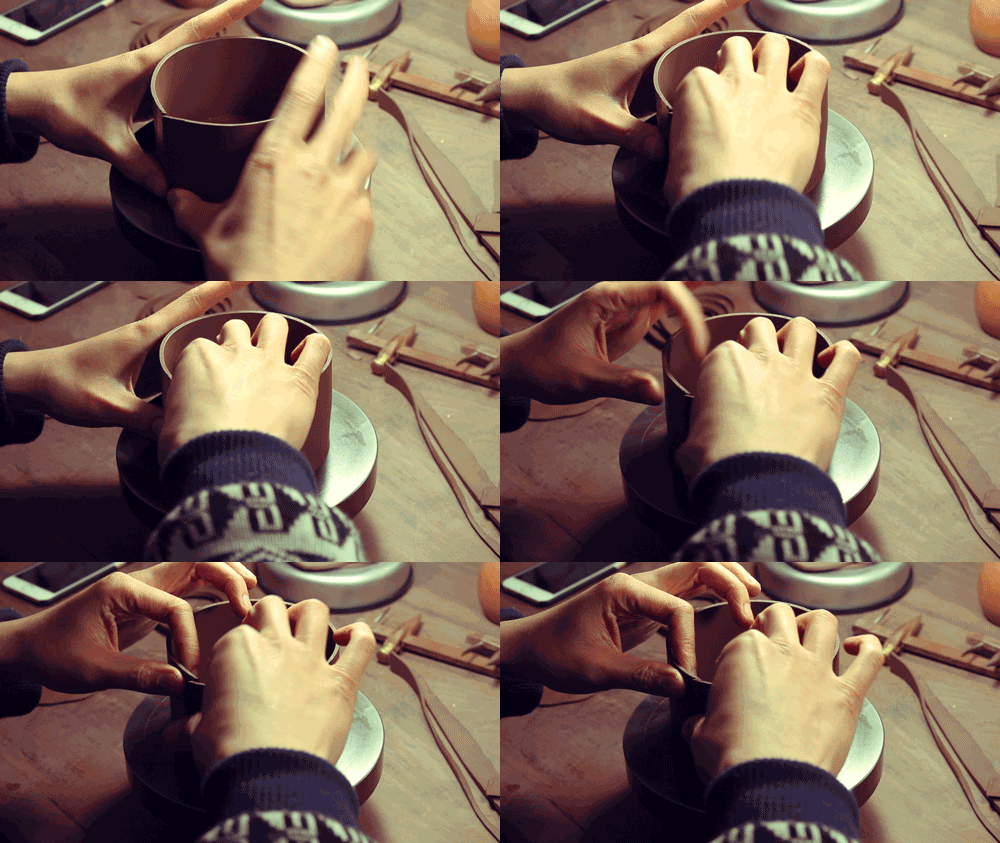
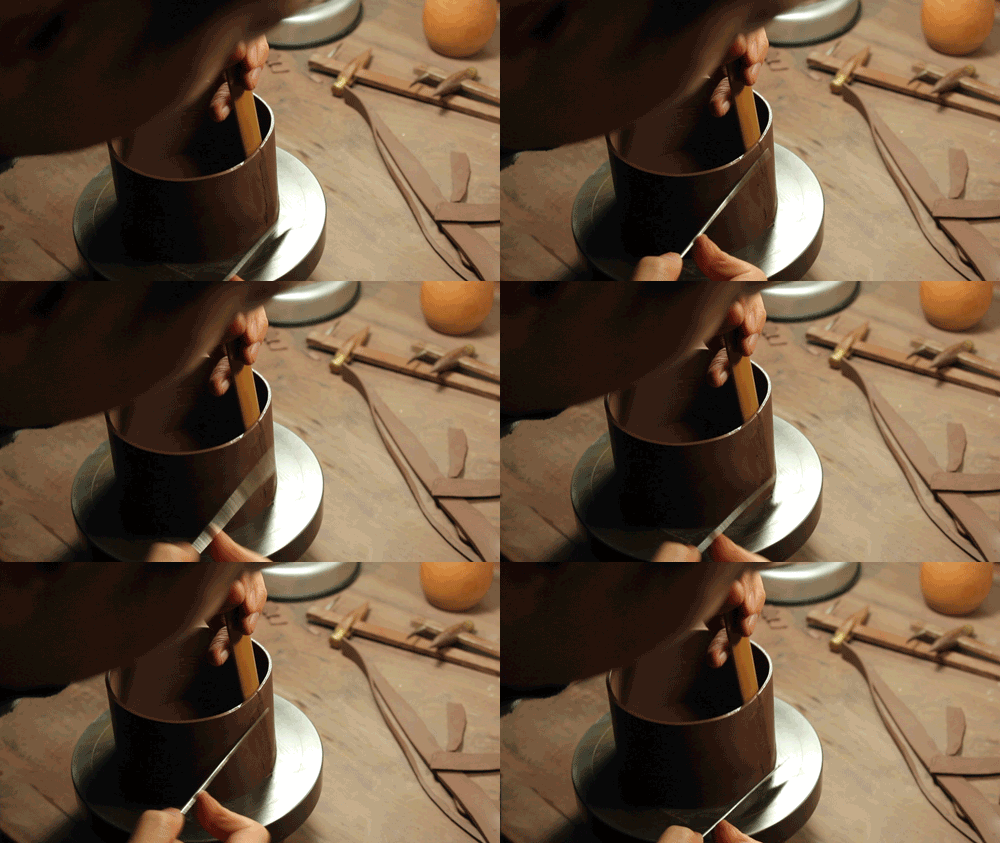
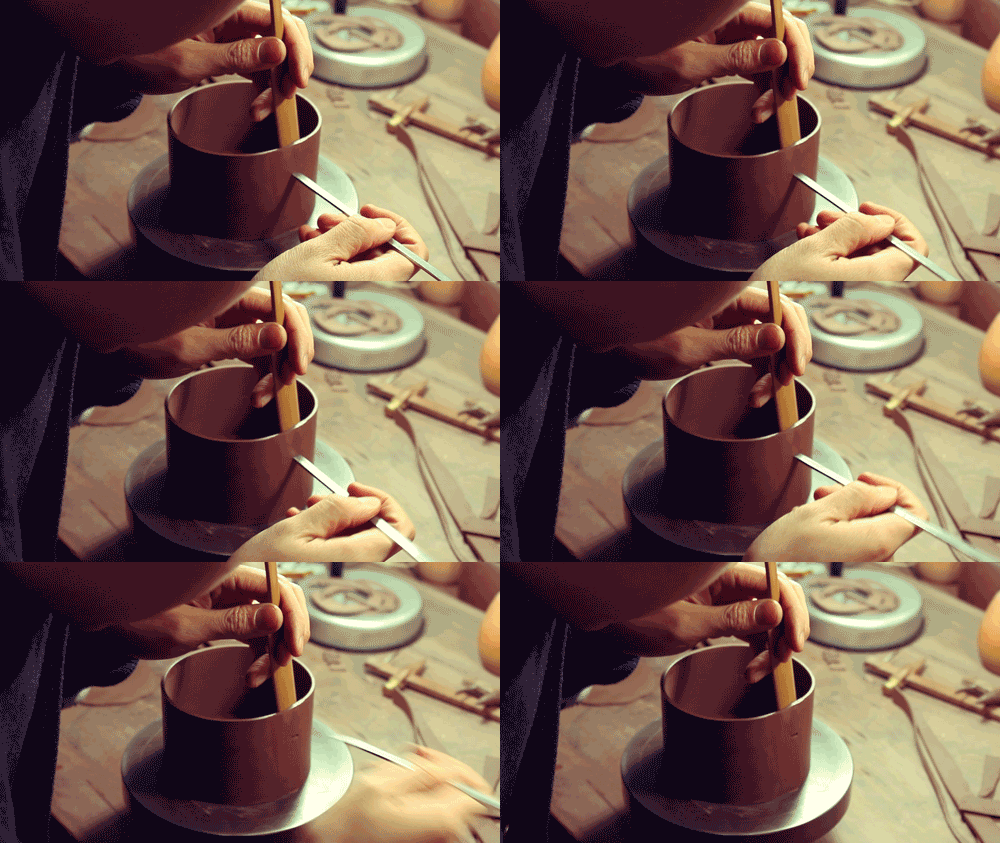
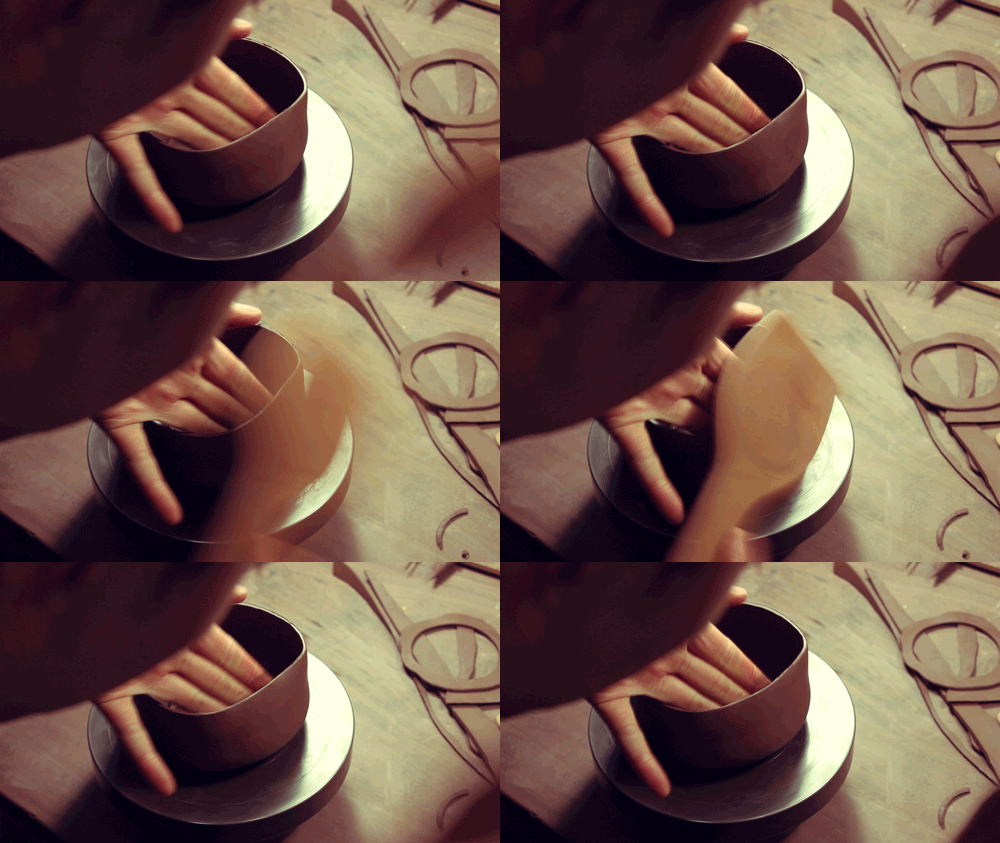
Here’s where things start to take form! After prepping the clay, he uses a simple wooden paddle to gently strike the clay while he turns the form and supports the clay wall with his free hand. Before your eyes, the body of the pot begins to take shape.

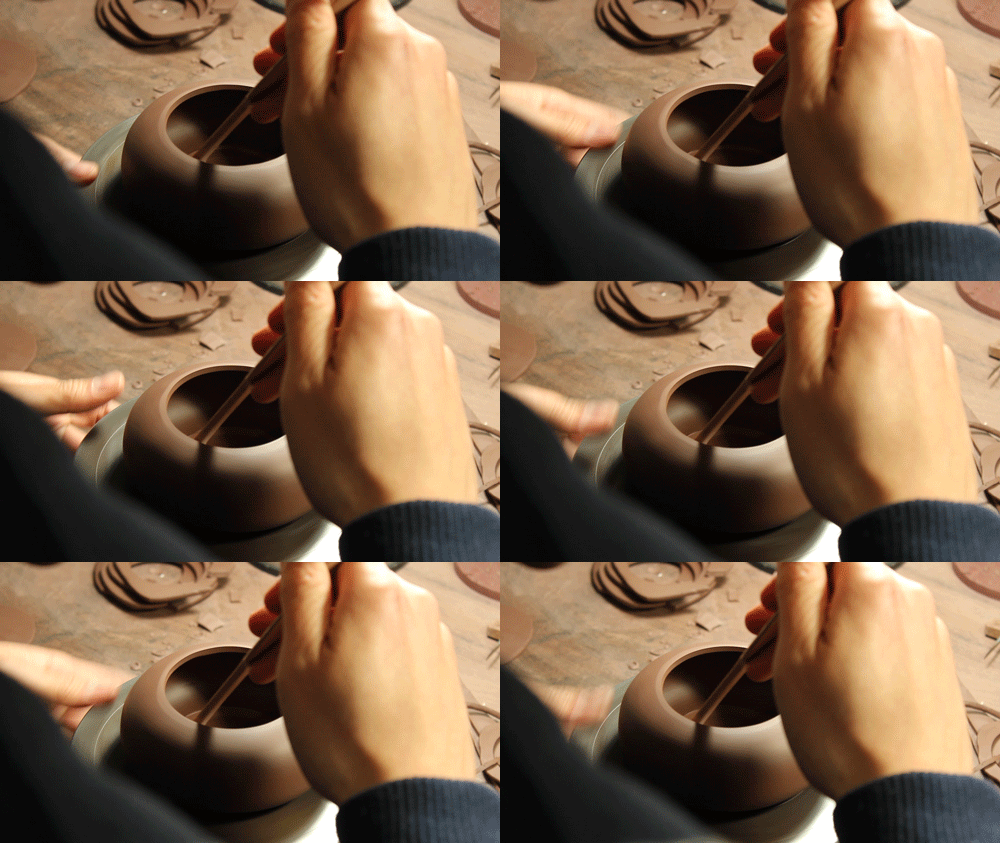
After taking care to make sure the pot is centered on his wheel, he carefully cuts a perfectly circular opening into the top.
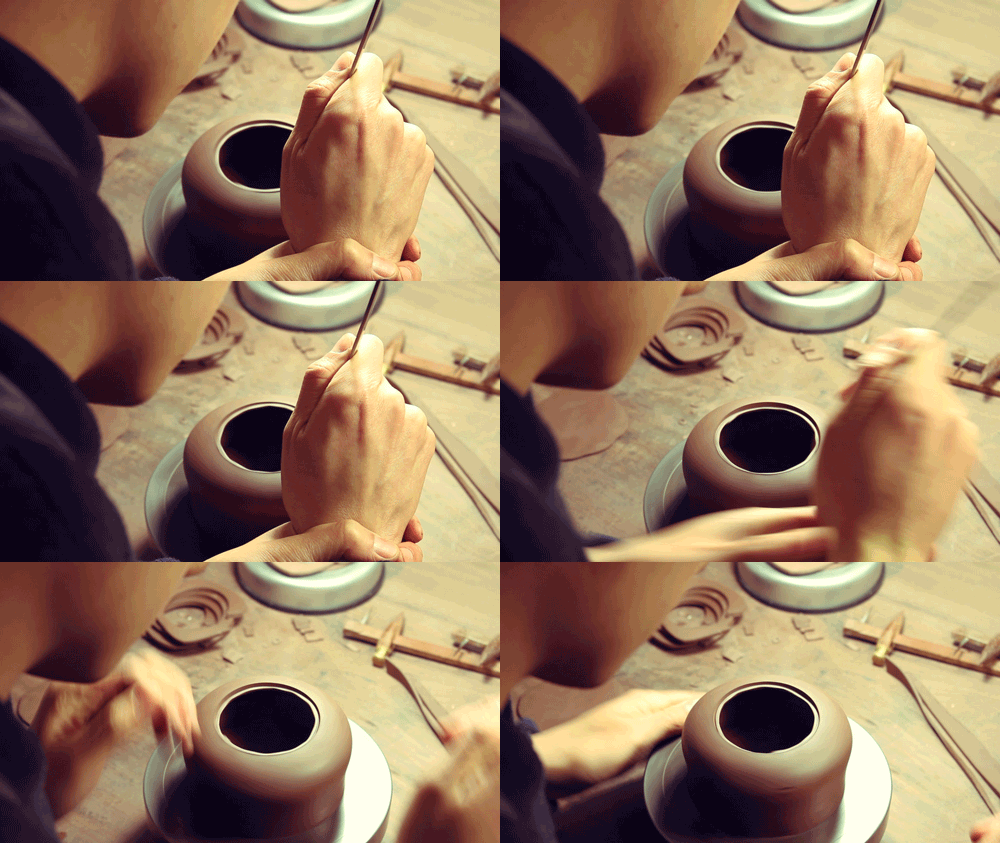
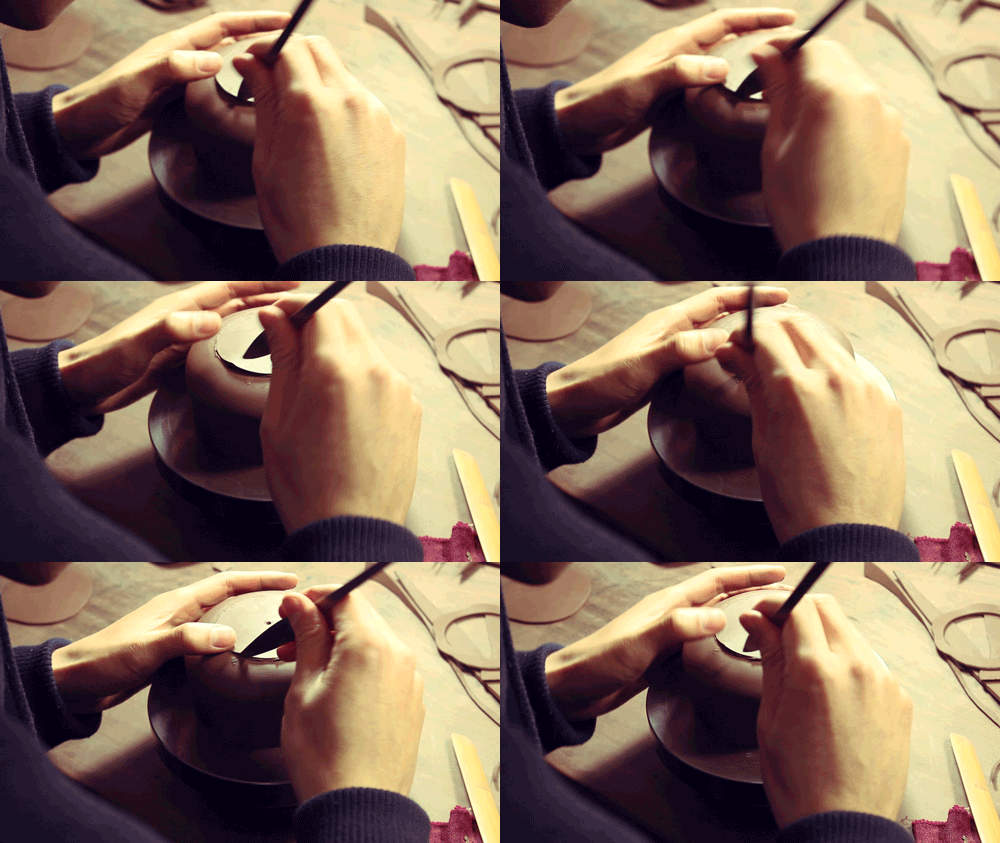
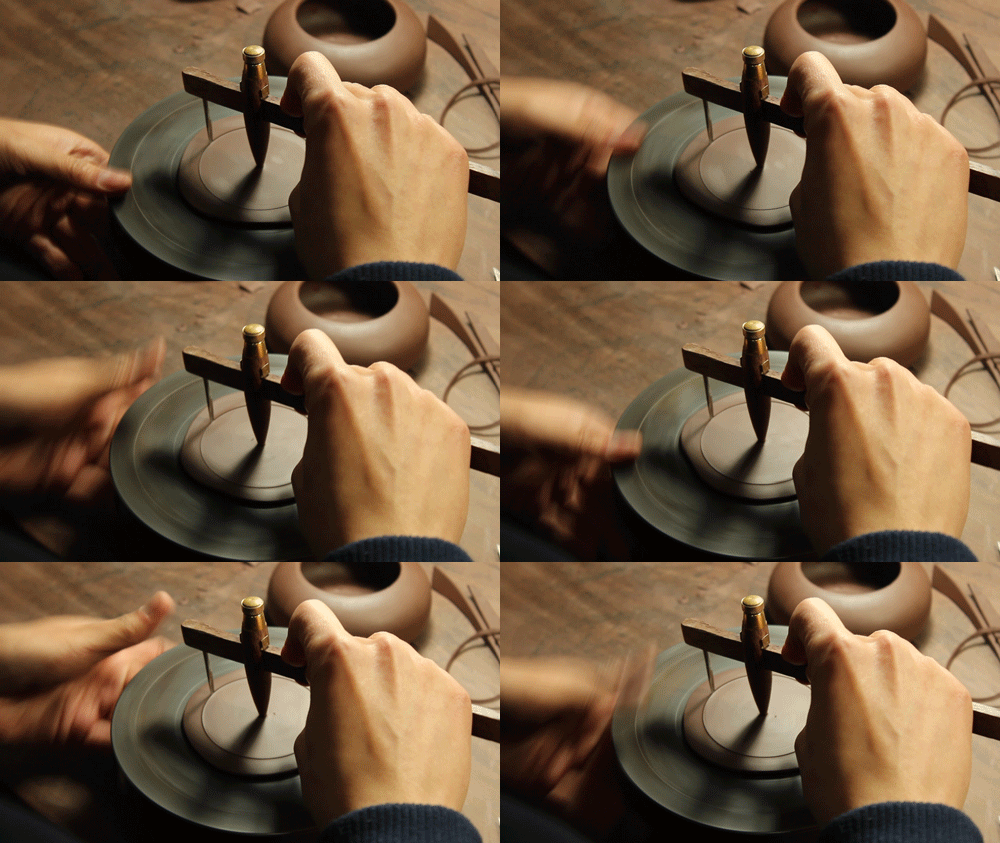
Pan Yang measures the opening, then uses wooden calipers to trim a perfect circle of clay. He then prepares clay slip, which he applies carefully to the edge of the pots’ circular opening.
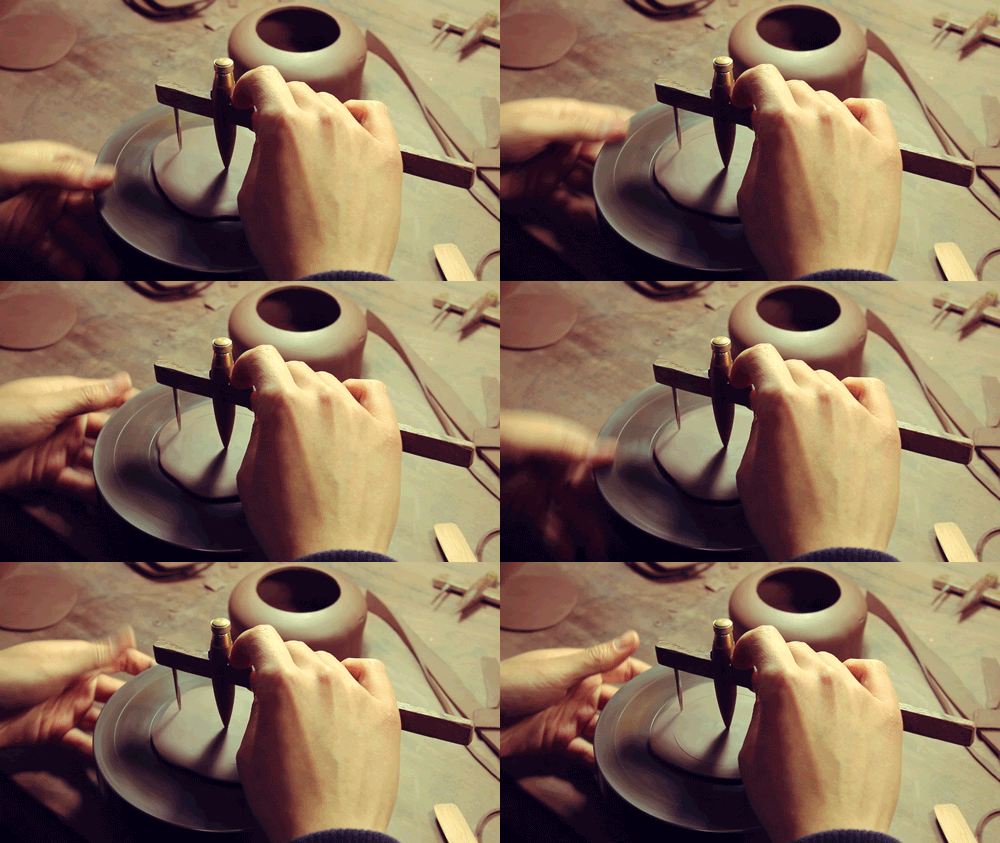
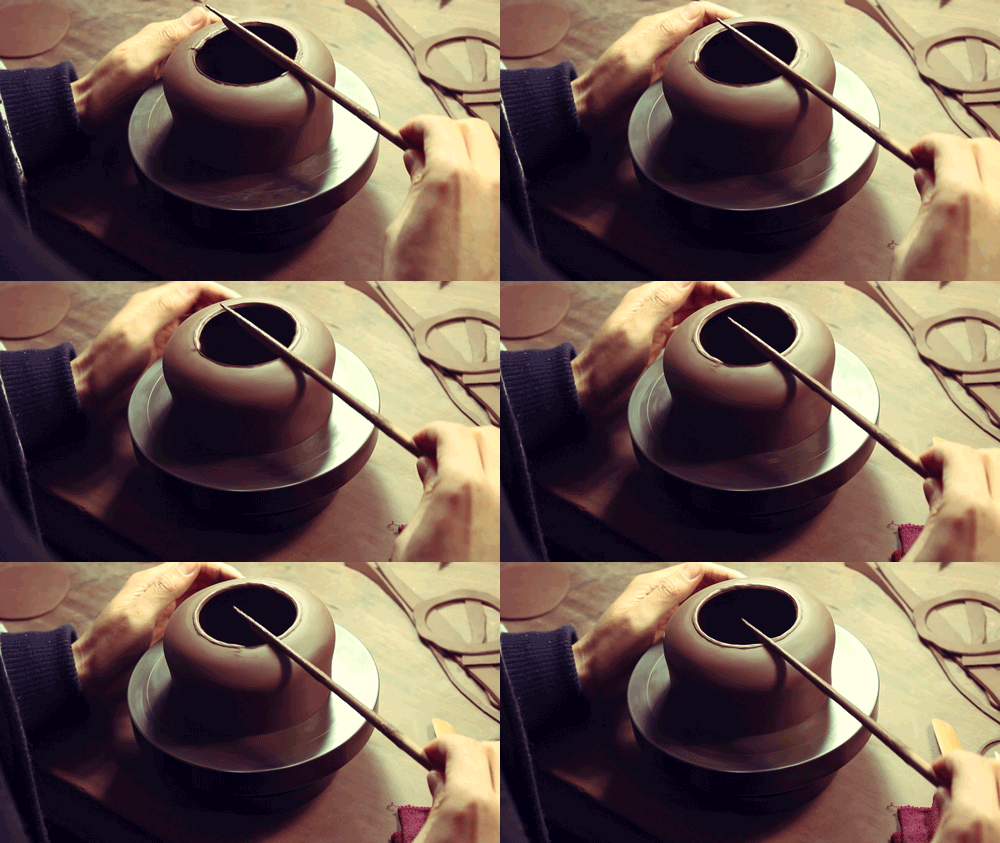
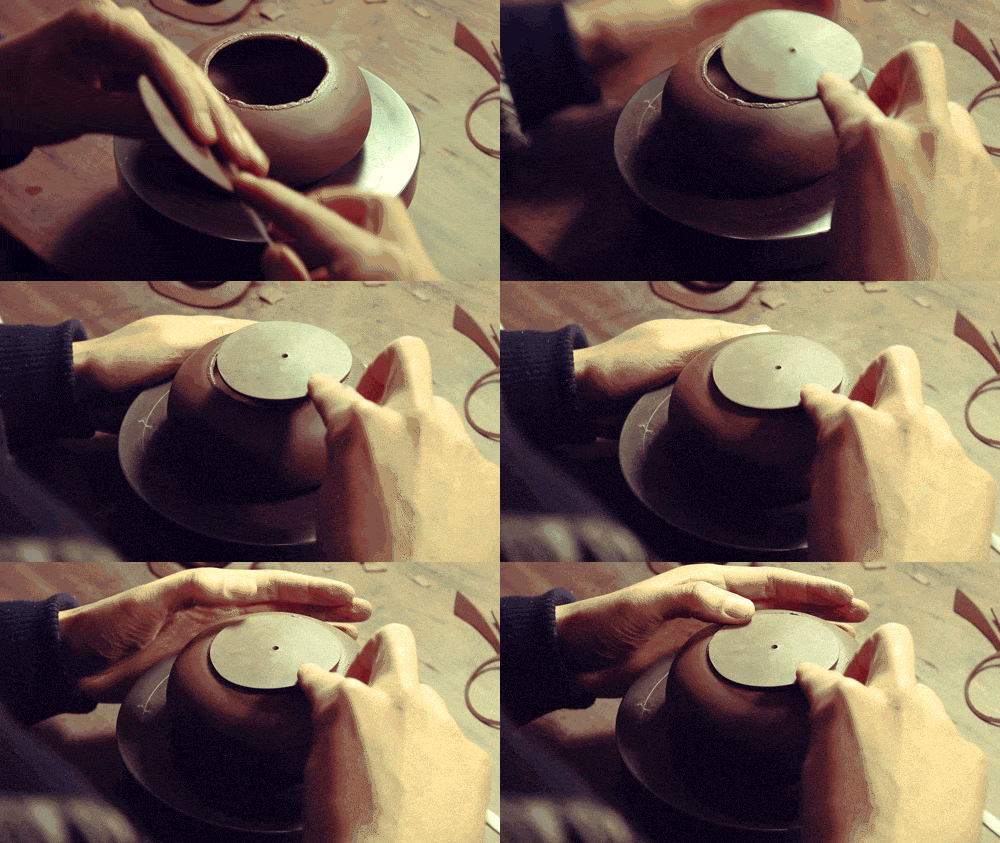
With great skill, Pan Yang expertly tucks the circle of clay into the opening at the top of the pot. Amazingly – the fit is perfect, and the two pieces are now joined together! He makes it all look so easy, but the skill takes years of practice and a steady hand. He carefully smooths out the joining, and uses his paddle to tap the top into place.
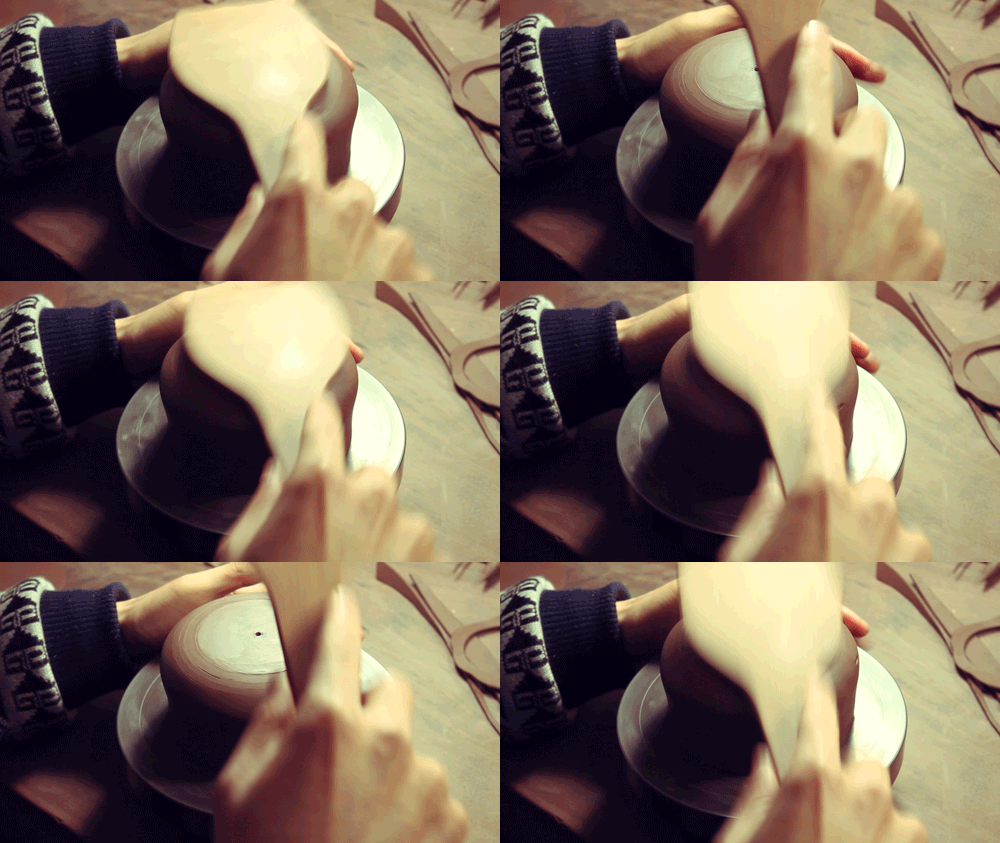
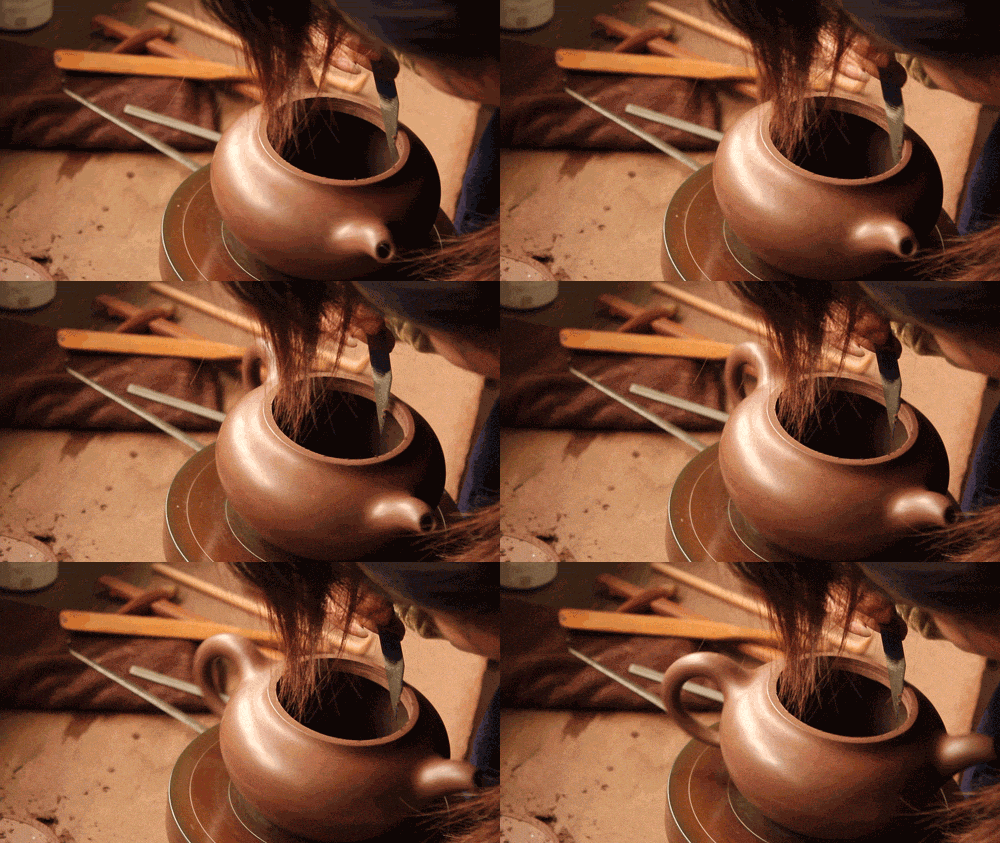
Now, he can remove the circular form and flip the pot over. After prepping the clay again, he uses his paddle to strike and form the clay. You can see the body of the pot truly taking shape!
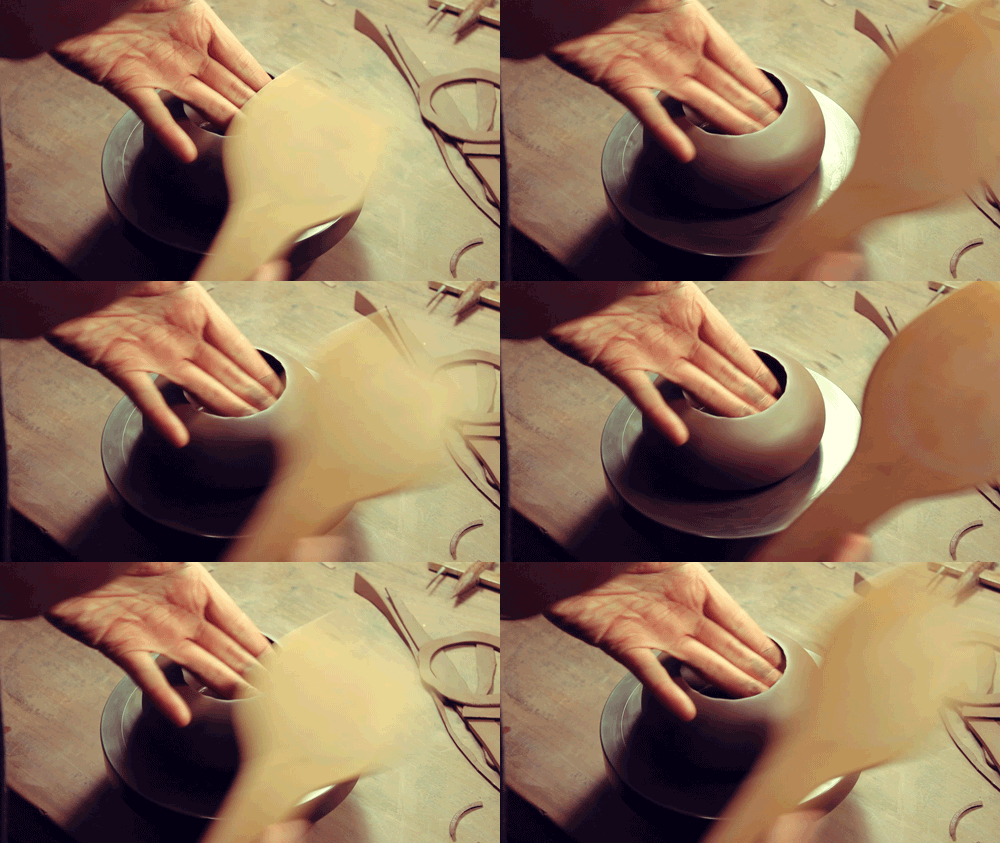
He again refines the edge of the new opening into a perfect circle, before creating another circle of clay to fill the opening. He smooths the interior joining that is now exposed on the bottom of the pot form. Finally, Pan Yang applies slip to the edge of the opening, and carefully places the circle of clay into the opening to join the two pieces and finish the main body of the tea pot. The top cover will be removed only after the outside of the pot has been perfected; these pieces will provide structural stability to the pot as Pan Yang continues to refine the shape, smooth the walls, and attach the spout and handle.
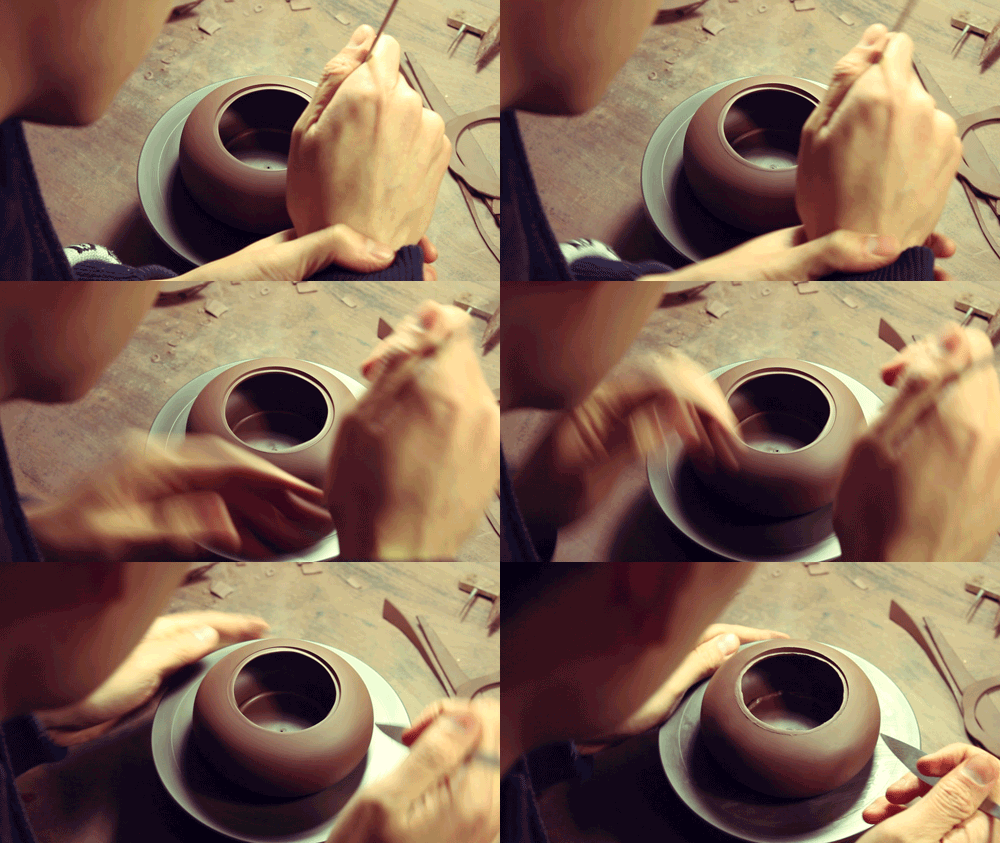
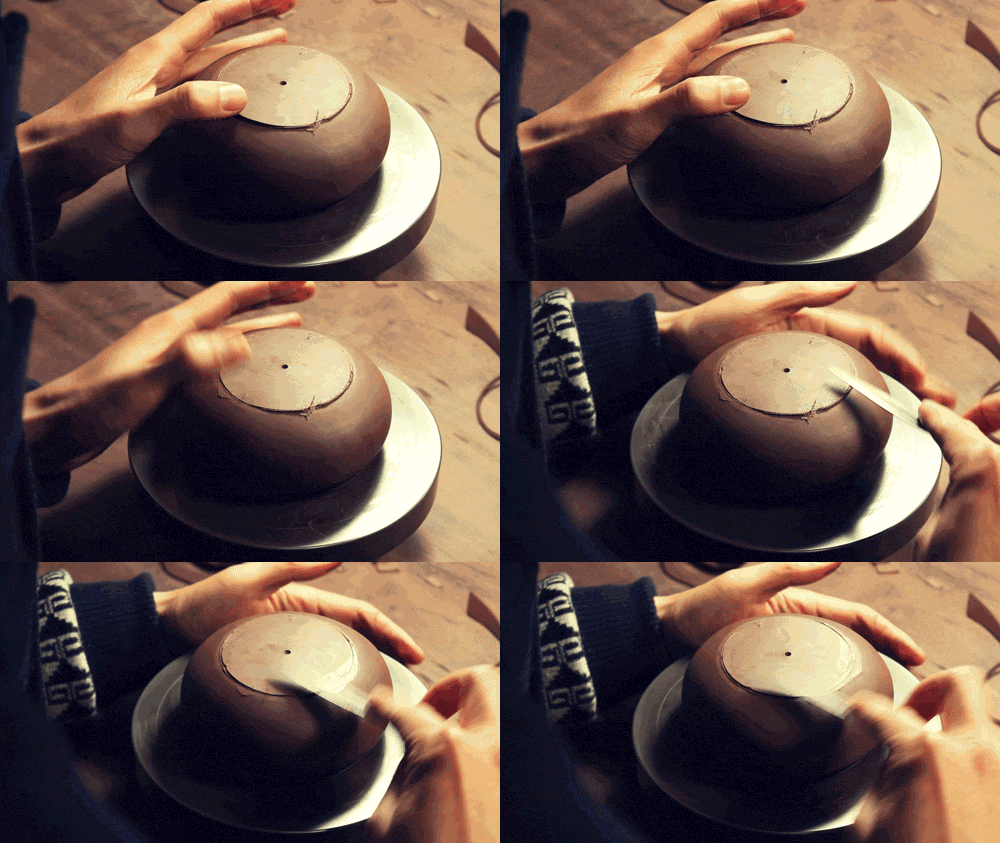
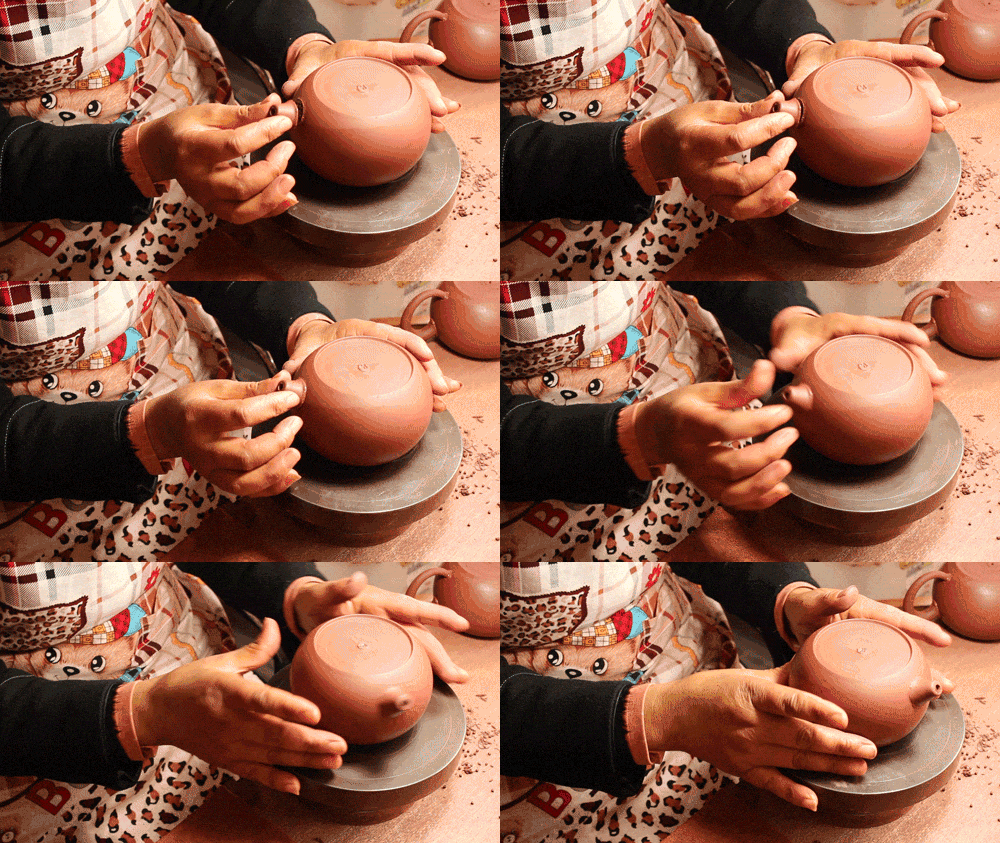
Now, the pot’s body is almost finished! Pan Yang checks on the shape of the pot, continuously making small adjustments to refine the curve of the walls and make sure all joinings are smooth and secure
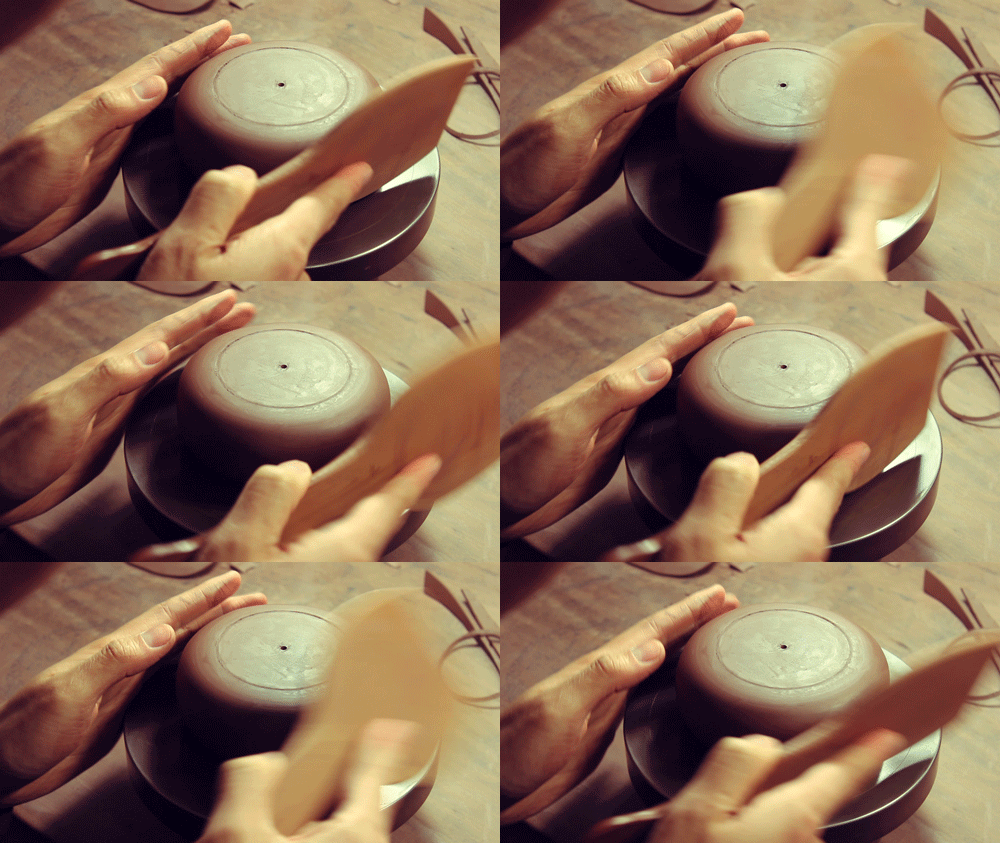
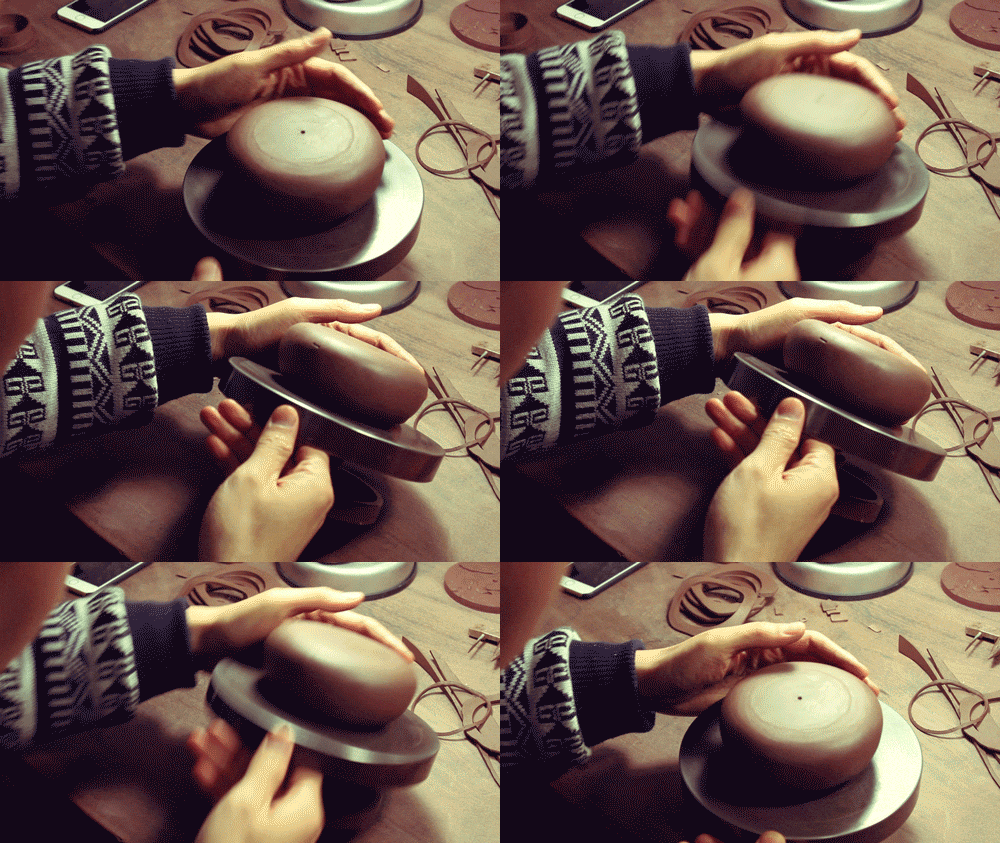
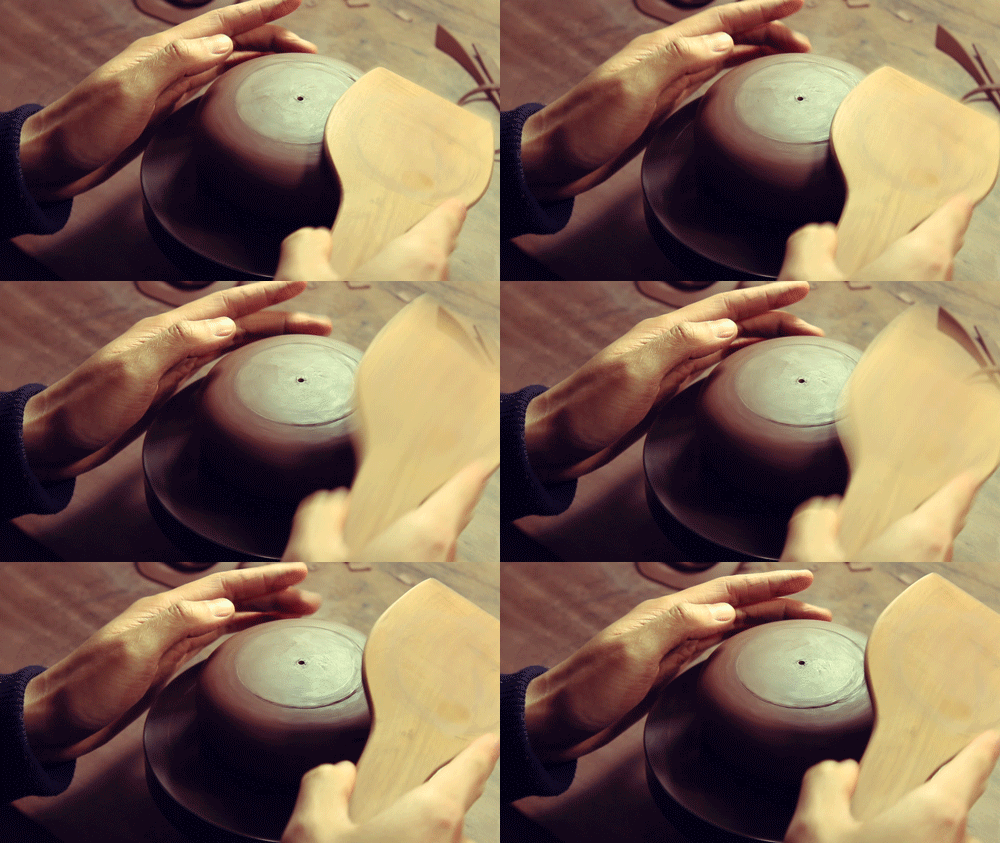
The pot’s body is now basically finished! It still needs to be smoothed, refined, and perfected, but that will have to wait until the pot has dried some overnight.
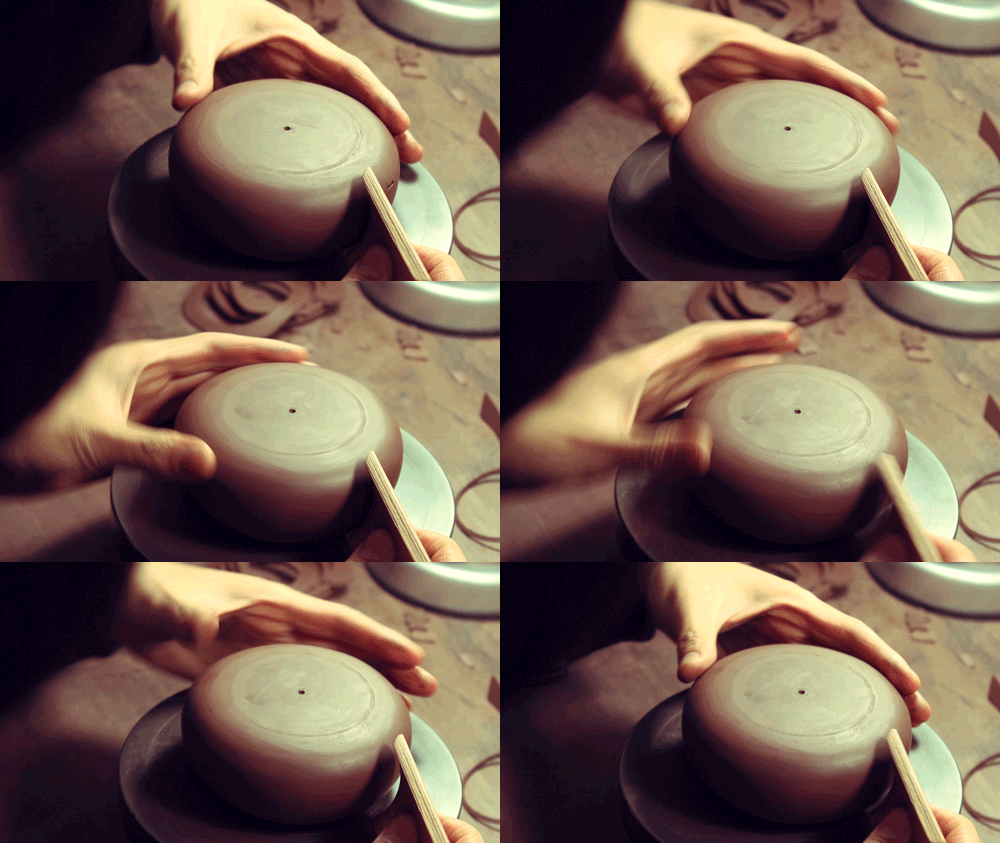
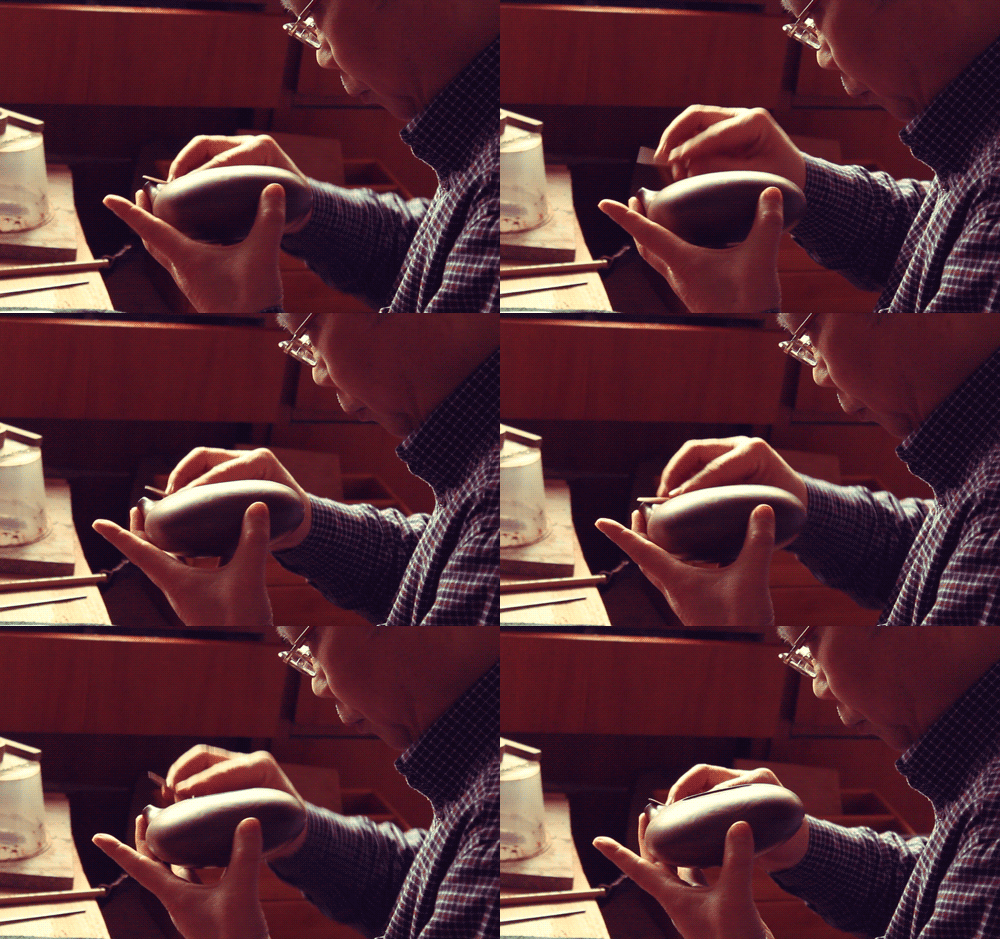
In the meantime, Pan Yang can work on creating the tea pot’s lid and sculpting the spout and handle pieces.
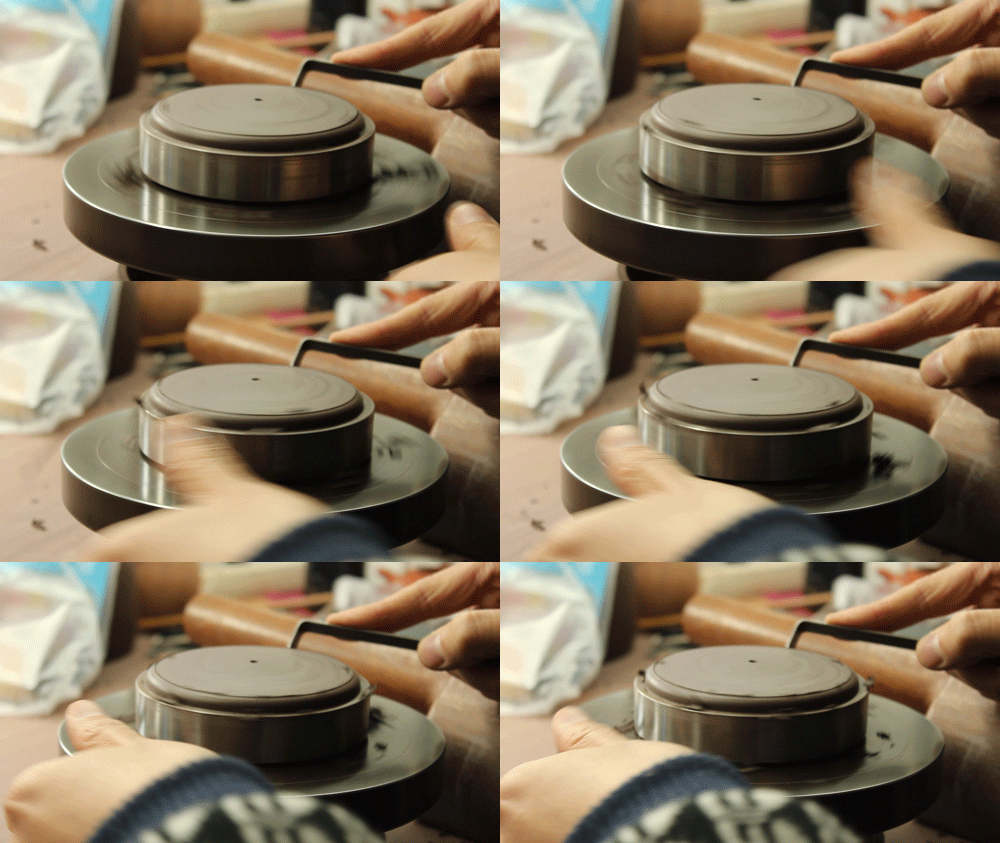
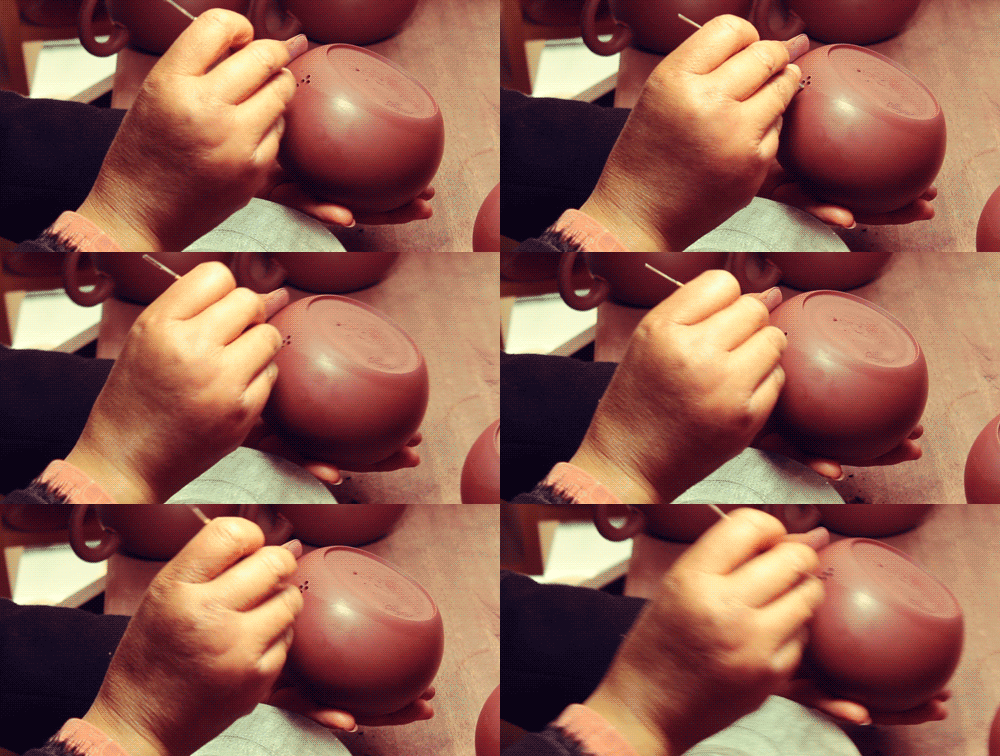
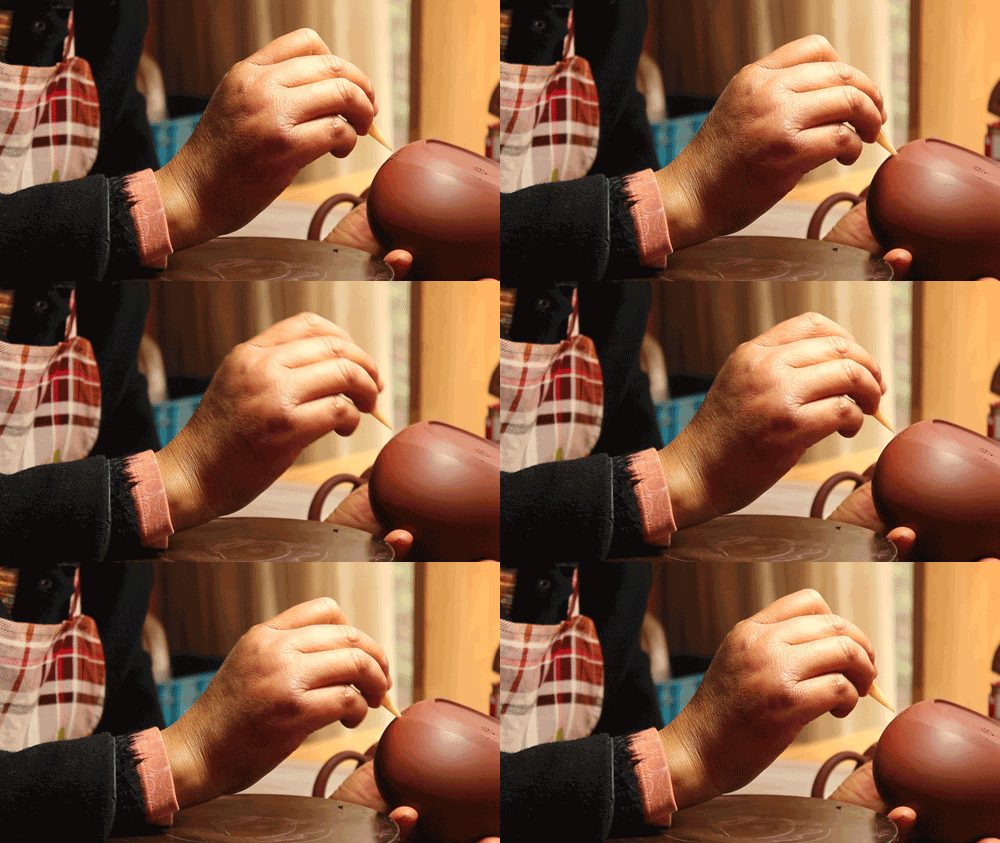
Over the next few days, he’ll be able to smooth the exterior walls, punch the filter holes for the spout, sculpt the spout and handle, and everything else needed to finish this completely hand made yixing tea pot!




 How To
 Myths & Legends
 Travelogue
 Tasting Journal
 Talking Shop
 Tea 101
 Watch
Watch Teaware
 News
News
Leave a Reply
Very cool to see how this is done. Thanks for sharing with us!
Thank you - We feel so lucky for the opportunity to film this process and share it with everyone!
This is amazing! Thank you for posting! There's so many subtle things you notice when you are also a yixing teapot artisan! Gold. Also I realize i really need a Shimpo wheel. I'm about to make a Laoshan village themed pot for Laoshan blacks. Where can I find the most pictures of Laoshan village? I want to imbue the pot with the essence of the village and Verdant tea in general.
Thank you so much, Stephen! I'm so glad to know this was inspiring for you - it certainly was for us. :D There is nothing like watching a master at work to show you the techniques, big and small, that go into making wonderful pieces.
A pot inspired by Laoshan teas - how exciting! I know we have lots of photos of the He Family's farm here on the website and on the blog, but it's true: we don't have too many photos of the town itself. I will dig through my archives and see if I can't put together a folder of reference materials for you. The three biggest influences are definitely the mountains, the ocean, and Daosim. Laoshan is a Daoist holy mountain, and there are still a few temples operating there today. The mountains themselves are covered in giant calligraphy carvings along hiking trails ,along with Daoist shrines. The mountains go right up to the ocean, towering over the beach in town below, and a special green stone (Laoshan Lv Shi / Laoshan Green Stone) found only in Laoshan below the water has been famous for centuries.
They say the craftsmen who create Yixing pots are the artisans of time for a moment spent drinking the elixir prepared in one time ceases to exist only the moment in which we savour and contemplate what life means